

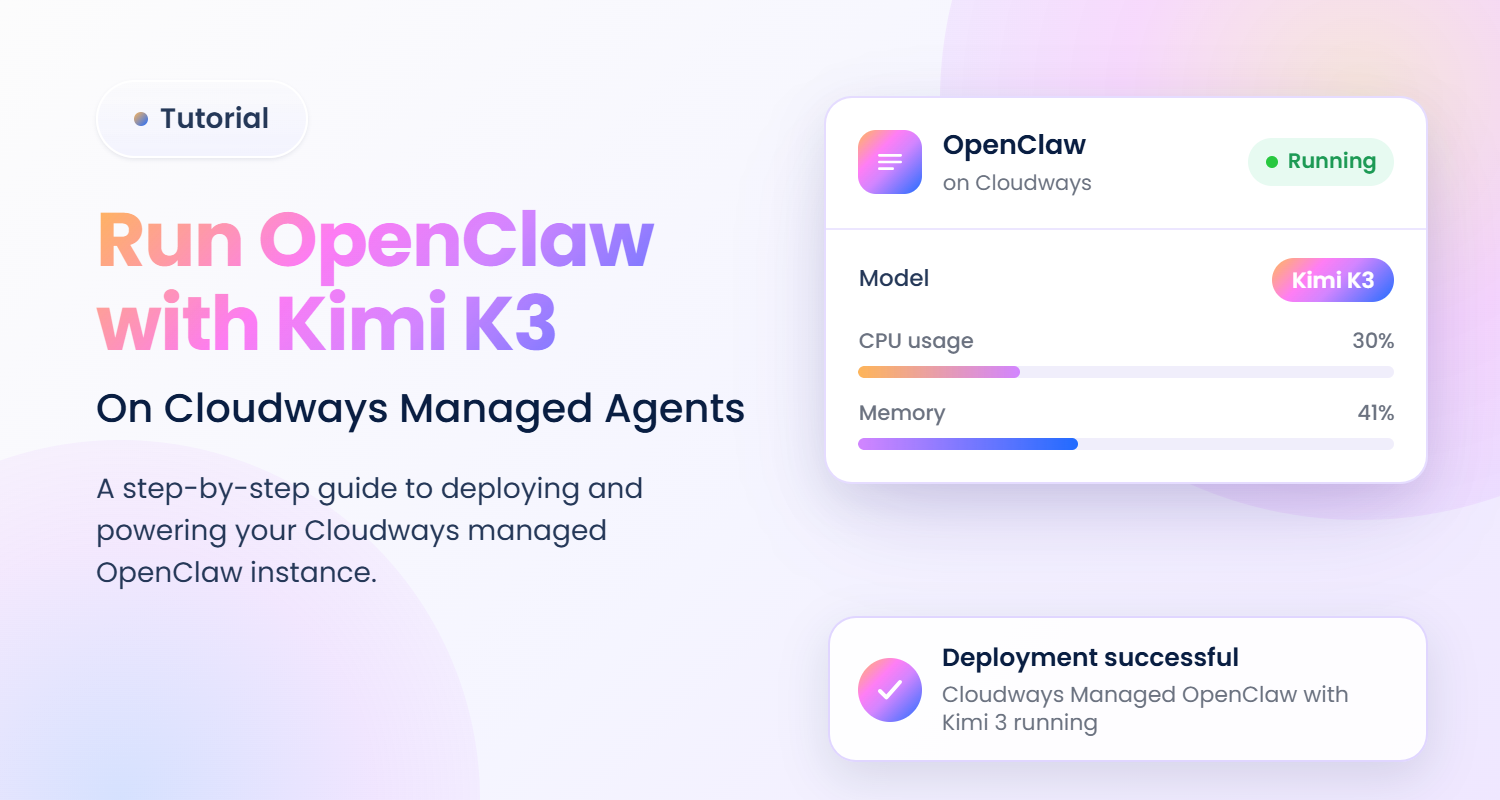
Moonshot AI released Kimi K3 in July 2026 and it has quickly become the open-weight model everyone is talking about. It is a 2.8 trillion parameter Mixture of Experts (MoE) model with native vision and prompt caching capabilities. Recent benchmark results put it ahead of most models for coding and long-horizon multi-agent tasks. That last part matters here, because long-horizon agent work is exactly what OpenClaw does all day.
The catch has always been the hosting. Pairing an open-source agent with a frontier-class model sounds simple until you are configuring Docker, SSL, firewalls, and update rollbacks on a VPS. On Cloudways Managed AI Agents, the whole exercise takes a few clicks and about ten minutes.
Here is how you can launch a managed OpenClaw instance in just 10 minutes.
What You Need
A Cloudways account with a payment method on file, and a DigitalOcean account with a prepayment balance for Serverless Inference.
DigitalOcean is one of the LLM providers you connect straight from the managed Cloudways OpenClaw deployment flow. Kimi K3 is live in the DigitalOcean model catalog. So there is no further configuration or settings to deal with in the terminal.
We strongly recommend creating the DigitalOcean API key first, because you will need it while you are deploying the agent (copy it to the clipboard to save a step in the process).
Part 1: Create Your DigitalOcean Kimi K3 API Access Key
Step #1: Add Prepayment Balance
In the DigitalOcean console, open Inference in the left navigation and choose Serverless Inference. Two things must be done on this screen.
Serverless Inference runs on a prepayment balance, so add funds before going further and turn on auto-reload while you are there. An agent working overnight will stop mid-task if the balance runs dry. Next, follow the Create a Model Access Key link.

Step #2: Open Manage Model Access Keys
You’ll land on Manage Model Access Keys, which will be empty the first time. Choose Create model access key.
Step #3: Name the Key and Scope it to Kimi K3
Give the key a name you would still recognize in three months (something like OpenClaw_Kimi_Key). Switch from All models to Select models, check Kimi K3, then Continue. Pricing appears next to each model, so you can see Kimi K3 price at $3.00 per million input tokens and $15.00 per million output tokens.
Scoping an API key to a single model limits the damage if the key ever leaks, since it can only ever spend against Kimi K3. It also means your agent has to be pointed at Kimi K3 explicitly (see Step 11). All agent requests for any other LLM model on this key will be refused.
Step #4: Leave the Key Unrestricted by VPC
On the VPC step, choose No VPC network and add the key. Your OpenClaw server runs on Cloudways infrastructure rather than inside DigitalOcean VPC, so a VPC-restricted key would not be reachable from your agent.
Step #5: Copy Your Key
Copy the secret key now and store it somewhere safe. DigitalOcean shows it once and will not display it again, so a lost key requires creating a replacement.
Part 2: Deploy your OpenClaw agent on Cloudways
Step #6: Add Your First AI Agent
Sign in to Cloudways and open AI Agents from the left navigation, then choose Add First AI Agent.
Step #7: Name it, Pick OpenClaw, and Choose a Region
Name the instance after what the agent will actually do, since that name follows it across your dashboard. Select OpenClaw, then pick the region closest to you, or the one that matches your data residency requirements. Hermes sits alongside it and is coming soon.
Step #8: Pick Instance Size and Connect DigitalOcean Key
Instances are described by what they are for rather than by specifications alone. Scout covers one or two simple workflows, Operator runs a single-purpose agent doing real work, Squad is great for multiple sub-agents, and Swarm is built for many agents and always-on autonomy.
Memory is the constraint that actually matters, since browser automation, sub-agents, and tool execution all take a slice of the instance’s RAM. Operator is a sensible starting point for a single agent doing real work. You can scale up or down later without rebuilding anything.
Under Select LLM Provider, choose DigitalOcean and paste the key from Step 5. There is a Get API key link here too that you can use to get an API, if you skipped Part 1 or want a new API key for any reason.
Accept the terms and deploy. During Public Preview, every instance is available at $0.
Step #9: Let it Provision
Your instance takes about a minute or two to provision. You can leave the page while the platform spins the instance.
When it finishes, you get a confirmation, and can see the agent on the page.
Step #10: Know Where Everything Lives
Open the agent from your dashboard and you get the full control surface in one place. Access Details holds your agent URL, Gateway Token, and the running OpenClaw version, with Restart Gateway for a stuck state. SSH credentials sit next to it for terminal work. Below that, the LLM Provider section lets you update or sync your key without redeploying and Channels is where WhatsApp, Slack, Telegram, and Discord connect to your agents.
Step #11: Open The Agent and Select Kimi K3
Choose Open Agent to launch the OpenClaw dashboard. Device pairing is automated, so you land in the chat window already authenticated.
OpenClaw ships with its own configured default model. Since we want to use it with Kimi K3, we strongly recommend selecting it from the model picker at the bottom of the chat. Next, simply ask the agent what model it is running. It will tell you exactly which model is powering it.
Good to Know
- Scaling works both ways. Move between Scout, Operator, Squad, and Swarm whenever your workload changes, and your agent configuration carries over untouched.
- Channels can wait. WhatsApp and Slack connect from the agent page whenever you are ready, so you can start in the dashboard chat and add a messaging channel later as you need.
Put it to Work
Now that you are running a managed OpenClaw instance with Kimi K3, you can use it to run almost all workflows you can think of. Here are a few popular workflows we recommend:
- Triaging your inbox and drafting replies in your voice
- Monitoring competitors or topics and sending you daily briefs
- Running recurring research, reporting, and data tasks on a schedule
- Navigating large repositories, debugging, and iterating on code
What This Instance Costs
This instance has two major costs: the server costs and the costs of LLM (Kimi K3 hosted at DigitalOcean).
Servers are free during Public Preview. After that, Scout starts at $9.99 a month and Operator at $19.99, billed hourly with no annual contract (billing stops the moment you delete the instance). Kimi K3 runs at $3.00 per million input tokens and $15.00 per million output tokens, drawn from your DigitalOcean prepayment balance.
Why Not Just Self-host
You can.
But OpenClaw updates breaking the agent runtime is the number one complaint in the community, and at 2.8-trillion parameters you will not be running Kimi K3’s weights on your own hardware anyway. Cloudways handles patching, validated version updates, backups, and isolation. You keep region choice, visible specs, your own API keys, and SSH terminal access when you want to set the agent up to your preferences.
Launch your managed OpenClaw powered by Kimi K3 now!
Start Growing with Cloudways Today.
Our Clients Love us because we never compromise on these
[email protected]
Zafar Iqbal is a Senior Technical Writer who's spent the last decade making server products, WordPress, and SaaS platforms actually make sense to people. As someone who lives at the intersection of tech and marketing, he loves turning complicated technical concepts into insights that help people make the right business decisions. When he's not demystifying managed hosting infrastructure, he's tinkering with his hobby projects.