Page caching makes WordPress fast by saving a final copy of each page and serving it to every visitor. The tradeoff is that any block meant to change between visits can fall out of date inside that saved copy.
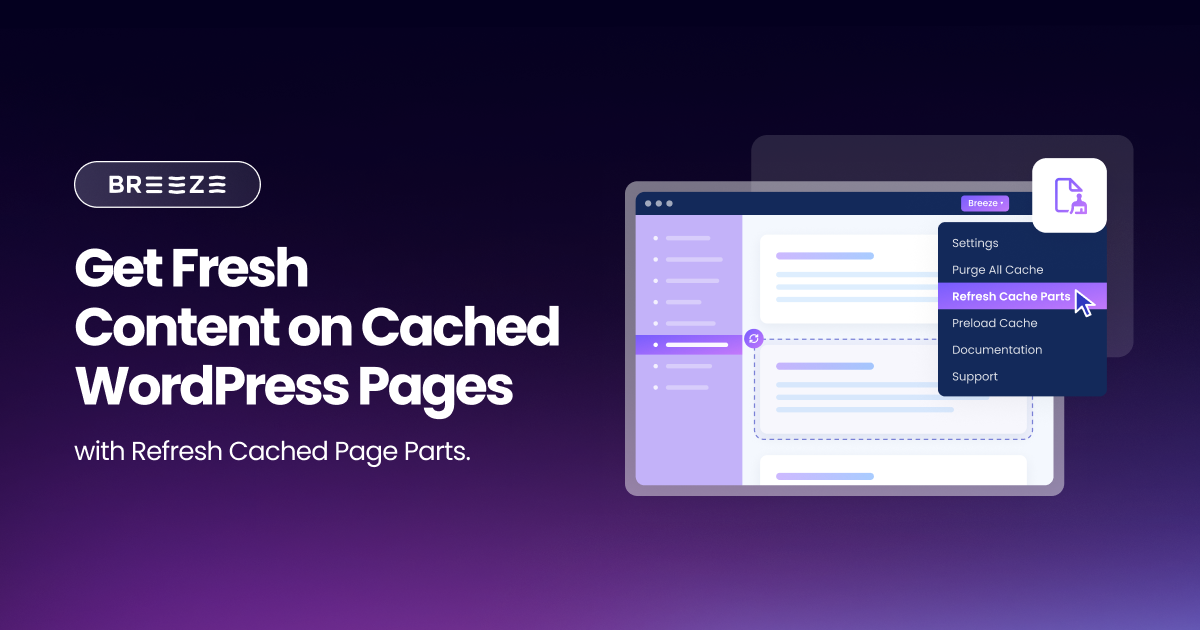
Most site owners respond by excluding whole pages from the cache, which gives up a lot of speed to fix a small area. Breeze offers a more precise option. Refresh Cached Page Parts lets the saved page load first, then updates only the blocks you choose.
This article covers what the feature does and how to use it to get the best of cached pages with fresh content blocks.
The Caching Compromise
Caching is a way of saving page content. Without it, WordPress gathers your content, runs its code, and builds the page from scratch every time someone visits. With caching on, your site builds the page once, saves the finished result, and hands that copy to every visitor afterward. That saved copy is called the cache.
The speed benefit is easy to feel. Pages appear sooner for visitors, and your hosting server does far less work with each visit.
The catch is that the saved copy is frozen at the moment it was made. If something on the page changes afterward, the copy has no way of knowing. Visitors keep receiving the old version until the copy is replaced, which usually happens when the cache is purged or expires.
For most of a page, this is harmless. Text, images, and layout rarely change between visits. Some blocks behave differently. Areas tied to the individual visitor, or to information that changes through the day, are the ones that get affected the most. When a block like that shows outdated information, the whole site can look broken or untrustworthy, even though everything else on the page is correct.
Site owners have usually handled this in one of four ways. Unfortunately, each method comes with a downside.
Excluding the page from the cache. This keeps the content fresh, but the page loses all of its speed benefit, including the parts that never needed to change.
Clearing the cache more often. Each purge forces the site to rebuild pages, so the more often you do it, the less caching helps. Content can still go stale between purges.
Writing custom code. A developer can build a workaround, but it takes time to create, and someone has to maintain it as your theme and plugins change.
Accepting the stale content. This costs nothing to set up, but visitors may see outdated information, and that wears away their trust in the site.
Each option fixes the freshness problem by giving up something else.
Meet Refresh Cached Page Parts
Refresh Cached Page Parts is the Breeze setting that helps users avoid these tradeoffs.
You find it under File Optimization in the HTML Settings area, and you use it to list the specific blocks of a page that need current content. Breeze handles the rest. The feature carries a beta label in the plugin, which means it is still being tested and refined, so try it on a staging site first.
The boundary is simple from the visitor’s side. The page still arrives from the saved copy, and the blocks you list change after the page loads, so they show current content.
Here is how that answers the four downsides we mentioned in the previous section.
The visitor experience stays fast. Full-page caching remains on, and the saved copy still loads first. Visitors get the quick start that caching provides.
Speed stays. Full-page caching remains on, and the saved copy still loads first. Visitors get the quick start that caching provides.
The frozen copy stops mattering for the blocks that count. After the page appears, Breeze retrieves a fresh copy of the page in the background and swaps the latest version of your listed blocks into the page the visitor is viewing.
The right blocks are covered. The feature is built for the areas described earlier, the ones tied to the individual visitor or to information that changes through the day.
With Refresh Cached Page Parts active, you no longer need to exclude the page, because visitors still receive the saved copy first. Similarly, you no longer need to purge more often, because the listed blocks update on their own. Stale content stops being the problem for your website operations because your critical blocks stay current, while the rest of the page is rendered using the cached copy.
So the answer to the real question is no. You do not have to accept one of those compromises. However, you should note that the feature suits a small number of critical blocks. Think of it as a precision tool that you use to fetch live, fresh content for specific blocks and sections on the page.
How this fits with your other Breeze settings
Breeze has a few settings that work together, and it helps to know where this one sits.
Cache System, found on the Basic tab, is the main switch for caching in Breeze. Cache Full Page HTML, found under File Optimization, saves a copy of your page’s HTML, which is the code that builds the page you see in your browser. Both should be on for a normal setup. If Cache System is off, HTML caching does not work at all. If only HTML caching is off, features like gzip (file compression) and minification can still run, but Breeze will not save or serve the cached page copy.
Starting with Breeze 2.6.0, HTML caching is on by default. If you updated from an older version and the toggle shows as off, switch it on, save your changes, and purge the cache.
Refresh Cached Page Parts works at the plugin level. It does not replace Varnish, the server-side caching layer that many hosts run. If your host uses Varnish, we recommend keeping it on to make sure caching remains operational at the server level.
It also helps to separate this feature from HTML Minify that only removes extra spaces from your page code to make it smaller. It never saves a cached copy of the page.
How Refresh Cached Page Parts works behind the scenes
The process has two moments.
First, a visitor requests the page and receives the saved copy right away. This is the fast part, and it is the same experience caching always delivers.
Second, once the page has loaded, Breeze fetches each block on your list directly from the origin server, which is the main server that hosts your website. The fresh version of each block then replaces the saved version on the visitor’s screen.
Everything outside your list stays exactly as it was in the saved copy.
Which Blocks are Good Candidates
A good candidate is a block that changes between visits or between visitors while the rest of the page stays the same. Before you add anything to the list, ask yourself a few questions.
- Does this block show different information to different visitors?
- Does its content change during the day while the surrounding page stays steady?
- Would an outdated version make the site look wrong?
- Have I confirmed on the live site that it actually shows old content?
If you answer no to the last question, you can skip the feature. Nothing needs fixing, and most sites only need Cache System and Cache Full Page HTML turned on.
Remember that the refresh adds a small extra step after the page loads and can slow the page slightly. As such, using it selectively keeps that page load cost low.
Set it up in a Few Minutes
Start with the block that shows outdated content. Open your live website and find it.
- Go to Settings → Breeze → File Optimization → HTML Settings.
- Confirm that Cache Full Page HTML is on.
- Turn on Refresh Cached Page Parts.
- Find the block’s identifier. Right-click the outdated area on your live site and select Inspect. A panel opens showing the page code, with the block highlighted.
- Look for an ID or a class in the highlighted code. An ID is a unique name for one element and appears as id=”…”. A class is a name that can be shared by several elements and appears as class=”…”.
- Enter it in the Page Parts to Refresh box, one per line. Use # (hash) in front of an ID and . (dot) in front of a class.
If a block shows both an ID and a class, either one can work. IDs are usually more precise, so try the ID first.
Keep in mind that an empty Page Parts to Refresh box means the feature does nothing, so this step is required.
- Click Save Changes. Then purge the Breeze cache and purge Varnish. This ensures the previous saved version is removed and Breeze can build a new one with your updated settings.
- Test the page while logged out in a private/incognito browser window.
We strongly recommend starting with a single entry. If the result looks wrong, you will know exactly which entry caused it. Once one works, add the next.

Smooth out the Experience
Because the listed blocks update after the page appears, some themes may show a brief flicker. Show Loading Overlay and Overlay Color help with this.
Turn on Show Loading Overlay if the update looks sudden, and use Overlay Color to pick the background of the overlay. The default color is black. How the overlay looks depends on your theme, so check it on your live site.
Do Not Refresh on These Pages lets you skip the refresh on specific pages that should stay cached. Enter one exact page URL or path per line, such as /sample-page/. Wildcards like /shop/* are not allowed, and query strings are ignored. It is critical to note that adding a parent page does not cover its child pages, so list each child path separately.
Guardrails and Better-fit Options
Refresh Cached Page Parts works best as a precision tool, and a precision tool works best when you know where to leave it alone. As such, you need a few boundaries to protect your site and keep the feature doing the job it was built for.
Keep interactive forms out of the list. Leave login, checkout, and add-to-cart forms out of the refresh list. Visitors submit information or complete an action in these areas, so refreshing them after the page loads risks interfering with what the visitor is doing.
Keep every entry specific. Do not enter html, body, or head. Those tags cover the entire page, which would defeat the purpose of refreshing a single block. If one slips in, Breeze removes invalid lines automatically when you save, so the mistake will not stay in your list.
Use Never Cache URLs when a whole page must stay fresh. This feature is built for individual blocks. If an entire page must always show current content, use Never Cache URLs on the Advanced tab, which stops caching for that page altogether.
Understand how Do Not Refresh on These Pages differs. The name sounds similar, but the behavior is different. Pages on that list can still be cached. They simply will not have their listed parts refreshed. Never Cache URLs removes the page from caching entirely.
Staying inside these boundaries keeps your setup simple and makes any problem easier to trace.
Confirm it Works
Saving your settings does not prove the feature is running. The refresh happens quickly after the page loads, so the visible result can be easy to miss. A more reliable check is to look for the markers Breeze leaves in your page’s source code. If the markers appear where they should, the feature is active. If they are missing or show up where they should not, you know exactly what to fix.
We suggest you start with a clean test setup. Use a private browser window while logged out, so your own session and saved browser data cannot affect the result. Leave ?nocache off the URL, because the test should reflect how a normal visitor receives the page.
Then run two quick checks.
- Check a page that should be refreshed. Open a page that is not on your exclusion list. Right-click the page and select View Page Source. Press Ctrl+F (Cmd+F on a Mac) and search for breeze-dc-elem or __breezeDcHasRun.
- Check a page that should be skipped. Open a page that is on your exclusion list and search again. You should not find either term. If you have not added any pages to Do Not Refresh on These Pages, you can skip this check.
If the terms still appear on an excluded page, check the URL you saved and purge the cache. Then test again using the exact path you entered, since a small difference in the path can keep the exclusion from matching.
Once both checks pass, your setup is working as intended.
Recommended Settings at a Glance
| Option | Recommended |
| Cache System (Basic tab) | On |
| Cache Full Page HTML | On |
| Refresh Cached Page Parts | Off, unless one block of the page keeps showing outdated content |
| Page Parts to Refresh | Fill in only if the option above is on |
| Show Loading Overlay | Off, unless the refresh looks jumpy or sudden |
| Overlay Color | Default color is fine |
| Do Not Refresh on These Pages | Leave empty, unless one page should not be refreshed |
Most sites only need the first two for excellent performance.
If Something Looks Wrong
Work through these steps in order.
- Turn off Show Loading Overlay and test the page again.
- Keep only one line in Page Parts to Refresh while you test.
- If the issue continues, turn off Refresh Cached Page Parts.
- Leave Cache System and Cache Full Page HTML on at all times.
After any change, save, purge the Breeze cache, purge Varnish, and recheck in a private window.
Conclusion
Caching gives your site its speed, and fresh content gives visitors a reason to trust it. Refresh Cached Page Parts lets you keep both. You choose the blocks that matter, Breeze updates them after the page loads, and everything else keeps coming from the saved copy. Try it on a staging site with one entry, confirm the result, and build from there.
Frequently asked questions
Does every site need Refresh Cached Page Parts?
No. Most sites only need Cache System and Cache Full Page HTML turned on. Use this feature when a specific block keeps showing outdated content.
Will it slow my pages down?
The saved page still loads first, but the refresh is an extra step that can slow the page slightly. That is why it works best with a short list of blocks.
Can I use it for a whole page that must always show fresh content?
No. The feature is built for individual blocks. For full pages, use Never Cache URLs on the Advanced tab.
I turned it on and nothing changed. What should I do?
Check that Page Parts to Refresh contains a matching ID or class, because an empty box does nothing. Then save, purge the Breeze cache and Varnish, and test in a private window.
Does it replace Varnish or my main caching settings?
No. It works at the plugin level, so keep Varnish on if your host uses it. Cache System and Cache Full Page HTML must stay on for the feature to work.
Is it safe to use on a live site while it is in beta?
Beta means the feature is still being tested and refined, so occasional bugs or unexpected behavior are possible. Test on a staging site first, start with one entry, and turn the feature off if something looks wrong.
[email protected]
Zafar Iqbal is a Senior Technical Writer who's spent the last decade making server products, WordPress, and SaaS platforms actually make sense to people. As someone who lives at the intersection of tech and marketing, he loves turning complicated technical concepts into insights that help people make the right business decisions. When he's not demystifying managed hosting infrastructure, he's tinkering with his hobby projects.