Tables are a great way of organizing and displaying information in a visually pleasing manner. If you have a lot of data, you can easily convert it into tables to make sure the visitors can quickly make sense of the data.
Fortunately, creating tables in WordPress is very simple and easy because a number of WordPress plugins you can use for creating beautiful tables. Now if you have a working knowledge of HTML, you can create the tables yourself but that requires a lot of time and effort, thus necessitating the use of plugins.
In this article, I’m going to show you how to add tables in WordPress quickly without any technical knowledge or the need for writing code. I’ll be using a WordPress table builder plugin named WP Table Builder.
Before jumping into the process of creating and adding tables in WordPress, let’s quickly take a look at the plugin I’ll use for demonstrating the process of adding tables to WordPress throughout our process.
WP Table Builder: An Overview
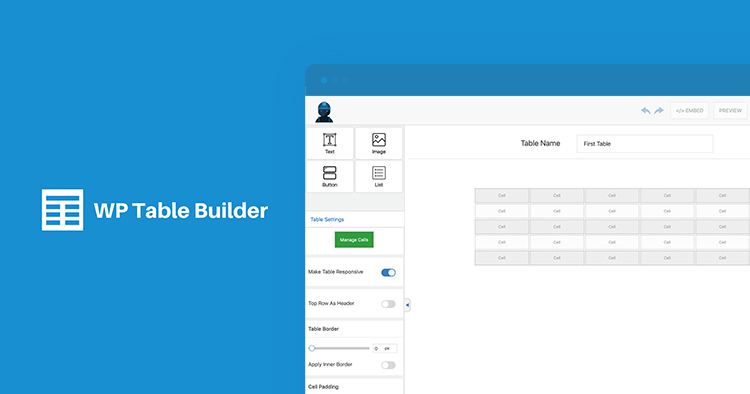
As the name suggests, WP Table Builder is a free table builder plugin for WordPress that allows you to build beautiful tables quickly. The plugin has a drag-and-drop interface allowing you to drag elements without worrying about writing code. Once you have the basic structure in place, there are several customization options to finalize the looks of the table.
WP Table Builder is responsive and provides options to let you customize how the table will be displayed on various screen sizes.
Let’s now add a table using the WP Table Builder plugin.
Install and Configure WP Table Builder
This process simply involves installing the plugin. For this, go to Plugins → Add New.
On this page, search for the plugin by entering the name ‘WP Table Builder’ in the search box.

Click on the ‘Install’ button to install the plugin. Once the plugin has been installed, activate it and you’re ready to move to the next step.
Add a New Table
Once the plugin is installed and activated, you’ll see a menu named ‘Table Builder’ in the sidebar menu.

Go to the menu and click ‘Add New Table‘ to create a new table. This will open the WP Table Builder interface:

As you can see, there is a panel on the left that contains the table elements and a top bar with several such as Embed, Preview, and Save.
Before you play around with any of these options, you need to give a name to your table (in the ‘Table Name’ field) and define the number of rows and columns. Do remember that these options can be changed later on.
Click Generate to generate the table.

Now, let’s add some content to the table.
Add Contents to the Table
You can drag-and-drop elements from the left panel to your table. So, let’s go ahead and add a text element to all the three columns.

Now, let’s say you want the top row of the table to be the header. For this, scroll down the left panel and you’ll find the option ‘Top Row As Header‘. Go ahead and enable this option.

Let’s add an image to our table. Drag the image element to any of the cells of your table. It will open the WordPress media library from where you can select the image you want to insert.
Now, the table is starting to look good.

Let’s now add the list element to the table.

WP Table Builder lets you change the list type from ordered to unordered. You can also change the list font color, alignment, and format your text.
Now, it’s time to add a star rating to the table. Drag the star rating element and place it into a cell.

There are a lot of customization options for individual elements. In the case of the star rating, you can change the size of the star, its color, star count, alignment, and even display the rating in numbers.
Finally, let’s add a button which is very important for ecommerce business. The button options in WP Table Builder are very simple and straightforward.

You can change the size of the button, it’s text and background color, insert a link and choose to open it in a new tab, set a “nofollow” tag for the link, add a button ID, and lastly, change the alignment of the button.
At this point, the table is ready. But I’ve not done it yet. There are still customization settings to go through to make sure the table looks good when added to a post or page.
Styling and Customizing the Table
WP Table Builder offers a lot of customization options to let you make your table look visually stunning.
Let’s go through these options to style and customize the table.
Manage the Cells
What if you want to add more rows or columns to your table? Or what if you want to delete some cells from your table.
In WP Table Builder, click the ‘Manage Cells’ button in the left panel.

This will open the cell settings where you can make changes to your cells, and add or remove cells.

As you can see from the above image, there are three empty cells at the bottom of the table. To delete these cells, simply select the cell and click Remove Row. This will delete the entire row.
Similarly, you can insert columns and rows into your table. You can also split or merge cells in WP Table Builder.
Table Border and Border Color
To modify the table border, you’ll find the table border settings in the left panel. You can change the border size and apply an inner border.
Once you apply an inner border, you can also customize its size and color.

Cell Padding
WP Table Builder also lets you customize the cell padding of the table. You can change the cell padding from the left panel and control how your table looks.

Header Background
Let’s change the background of the table header. To do this, go to the header background and select your desired color.

This will help the table header stand out more and not get confused with the table content.
Even and Odd Row Background
To make your table look more appealing to the user, you can set an even and odd background for your table cells.

You can set different background colors for even and odd rows in WP Table Builder easily.
Making Table Responsive
Now that that table is ready, it’s time to make it responsive. When using WP Table Builder, this requires just a single click.

While building your table, you might have come across the option ‘Make Table Responsive‘. Enable this option and your table will be responsive.

Insert Table Using Shortcode
The last step of adding a table in WordPress using WP Table Builder is inserting it into your content.
With WP Table Builder, you can easily do that by inserting the table shortcode into your content.
To embed your table, make sure you first click ‘Save Table‘. Once your table is saved, click ‘Embed‘ and a pop-up will open with the table shortcode.

Copy this shortcode and paste it anywhere on your page or post.
An alternative way to find the table shortcode is by going to the Table Builder → All Tables. This page lists all the tables you’ve created using the plugin.

Wrapping up!
Adding tables in WordPress using WP Table Builder is very simple (as evident from this tutorial). With this table builder plugin, you can create different types of tables such as comparison tables, product lists, pricing tables, and more.
Using tables in your content allows you to present a large volume of information in an organized manner and also improve the experience for the users.
If you have any questions regarding this tutorial or WP Table Builder plugin, feel free to ask them in the comments below.
Disclaimer: This is a guest post contributed by Istiak Rayhan from WPLeaders.
Mustaasam Saleem
Mustaasam is the WordPress Community Manager at Cloudways. Where he actively works and loves sharing his knowledge with the WordPress Community. When he is not working, you can find him playing squash with his friends, or defending in Football, and listening to music.


