Secure and efficient data retrieval is one of the fundamental requirements for a good app. Fortunately, developers have a number of options (for instance, framework level tools and secure DBMS) for implementing this requirement.
What is Firebase?
Firebase was founded in 2012 as a real-time architecture for syncing data between apps. It was acquired by Google in 2014. Originally, it was a part of Envolve, a real-time chat integration API. Overtime, the developers realized that the system was being used to more than just text messages. Realizing the potential of the system, they come up with the idea of Firebase as a separate entity from Envolve.
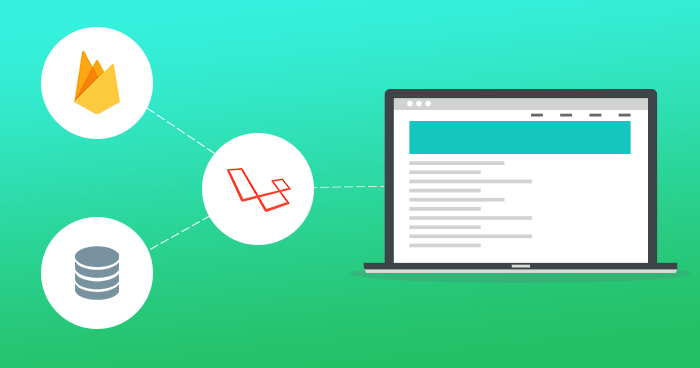
In this article , I will demonstrates how to connect Firebase Realtime Database in Laravel 5.5 (by using Admin SDK).
Prerequisites
For the purpose of this tutorial, I assume that you have a Laravel application installed on a web server. My setup is:
- Laravel 5.5
- PHP 7.1
- Google Firebase Realtime Database
- Web server (Apache, NGINX or integrated PHP web server for testing).
I have installed my Laravel app on a Cloudways managed server because it has a Laravel optimized dev stack and advanced PHP hosting. If you do not have an account on Cloudways, sign up for free, and check out the following GIF to setup the server and application in just a few clicks.

You might also like: Enhanced Cloudways Staging Environment Is Now Available for All Users
How to Setup Firebase
Let’s start with signing up for a Gmail account. In the next tab, open the Firebase page for database settings and click the Visit Console button.
Next, in the next window, create a database project and provide information including project name. When done, click the Create Project button.
Wait for the project to be created and then continue. You will be automatically redirected to the Firebase Dashboard.
Lightning Fast Laravel Hosting With 24×7 Tech Support
We Take Care of Your Hosting Hassles To Let You Focus More On The Business
After successfully creating the project, go to the Database tab, click Rules to update read and write rules to true and then click the Publish button.
Generate the API Key
Firebase generates an API key for your project that you can download and paste into http/Controller.
Click the User and permissions tab.
Next, click Support account and then click the Create Key button
The key will be created in JSON format and downloaded automatically. You can copy the this file to the http/controller folder of Laravel.
Laravel Composer Require
After setting up the Firebase database, go to the Laravel application and install kreait/firebase-php ^4.0. Open the SSH terminal and goto the public_root
Enter the following command:
composer require kreait/firebase-php ^4.0
Alternatively, you can specify the Firebase Admin SDK as a dependency in your project’s existing composer.json file:
{

"require": {

"kreait/firebase-php": "^4.0"

}

}
Create the Controller
After pasting the API Key in the Controller folder, go to the in SSH Terminal and type the following command to create the Controller:
php artisan make:controller FirebaseController
Next, paste the following code in the Controller file:
<?php

namespace App\Http\Controllers;

use Illuminate\Http\Request;

use Kreait\Firebase;

use Kreait\Firebase\Factory;

use Kreait\Firebase\ServiceAccount;

use Kreait\Firebase\Database;

class FirebaseController extends Controller

{

//

public function index(){

$serviceAccount = ServiceAccount::fromJsonFile(__DIR__.'/Laraveltesting-6aeda3a963f2.json');

$firebase = (new Factory)

->withServiceAccount($serviceAccount)

->withDatabaseUri('https://laraveltesting-bd2b9.firebaseio.com/')

->create();

$database = $firebase->getDatabase();

$newPost = $database

->getReference('blog/posts')

->push([

'title' => 'Post title',

'body' => 'This should probably be longer.'

]);

//$newPost->getKey(); // => -KVr5eu8gcTv7_AHb-3-

//$newPost->getUri(); // => https://my-project.firebaseio.com/blog/posts/-KVr5eu8gcTv7_AHb-3-

//$newPost->getChild('title')->set('Changed post title');

//$newPost->getValue(); // Fetches the data from the realtime database

//$newPost->remove();

echo"<pre>";

print_r($newPost->getvalue());

}

}

?>
Remember to replace the file path in fromJsonFile with your own file path. Also, replace the database URL with your database’s URL:
Set up the Route
Open the Laravel routes/web.php file and update the following code:
<?php

/*

|--------------------------------------------------------------------------

| Web Routes

|--------------------------------------------------------------------------

|

| Here is where you can register web routes for your application. These

| routes are loaded by the RouteServiceProvider within a group which

| contains the "web" middleware group. Now create something great!

|

*/

Route::get('/', function () {

return view('welcome');

});

Route::get('/phpfirebase_sdk','FirebaseController@index');
Save all changes in the Laravel application and run your application to see the output in action:
Firebase Database
Conclusion
I hope that by now you have a very good idea of using Firebase Realtime Database in Laravel project. To see my sample app in action, just check out the demo. If you need help, just drop a comment and I will get back to you
Article Help #webdeveloper #webdev #php #developers to Connect #Firebase #Real #Time #Database With #laravel using #Cloud #Server #Web https://t.co/HXLjRWmFdd
— pardeep (@Pardip_Trivedi) March 31, 2018
Mansoor Ahmed Khan
Been in content marketing since 2014, and I still get a kick out of creating stories that resonate with the target audience and drive results. At Cloudways by DigitalOcean (a leading cloud hosting company, btw!), I lead a dream team of content creators. Together, we brainstorm, write, and churn out awesome content across all the channels: blogs, social media, emails, you name it! You can reach out to me at [email protected].