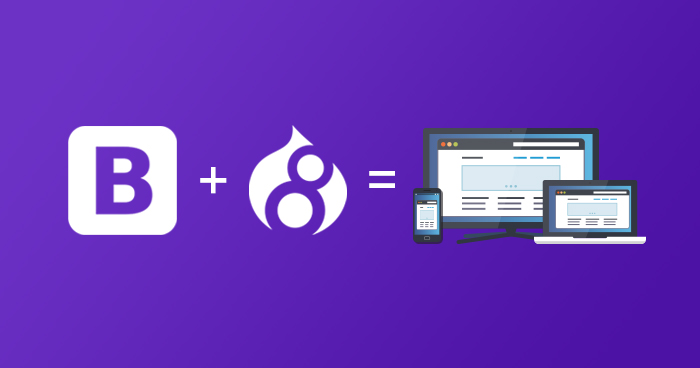
If you’re even vaguely familiar with web development, you must have heard the word ‘Bootstrap’. It is a digital framework by Twitter for creating responsive websites. Since it is easy to use and very versatile, it has been adopted very well by the entire web community. Owing to the ease of using Bootstrap framework, it’s no surprise that Drupal 8 (being responsive itself out-of-the-box) supports easy Bootstrap integration.
In this tutorial, I’ll take you through the following steps for creating a Bootstrap subtheme, using the official base Drupal Bootstrap theme.
Download Bootstrap Theme
First, download the official Drupal Bootstrap base theme. Extract it and place the folder in your website’s theme folder.
Alternatively, you can use Drush to download the Bootstrap base theme. For this, simply execute the following command in the terminal:
$ drush dl bootstrap
Nothing as Easy as Deploying Drupal Apps on Cloud
With Cloudways, you can have your PHP apps up and running on managed cloud servers in just a few minutes.
Copy the Required Starter Kit Folder
Now, navigate to the folder you extracted; it will be named bootstrap. Once inside the folder, go the subfolder named starterkits, where you’ll find three subfolders: CDN, LESS, SASS. LESS has built-in support for LESS processor. Similarly, SASS has built-in support for SASS preprocessor whereas CDN doesn’t have files for any of these preprocessors. Choose the framework you wish to go with and copy that folder over your website’s Themes >> Custom directory.
Rename the Folder
Rename the folder you copied in the previous step to your theme’s name. (For the purpose of this tutorial, I’ll use the name, mytheme).
Rename the Files
Now, open the theme’s folder and rename the following files inside it to your theme’s name. (In this case, mytheme):
- libraries.yml to mytheme.libraries.yml
- starterkit.yml to mytheme.info.yml
- theme to mytheme.theme
- config/install/THEMENAME.settings.yml to config/install/settings.yml
- config/schema/THEMENAME.schema.yml to config/schema/schema.yml
Update the info.yml File
Now, you’ll need to make appropriate changes to the mytheme.info.yml file:
core: 8.x
    type: theme
    base theme: bootstrap

    name: 'MyTheme'
    description: 'My first Drupal8 subtheme powered by Bootstrap'
    package: 'Custom'

    regions:
    navigation: 'Navigation'
    navigation_collapsible: 'Navigation (Collapsible)'
    header: 'Top Bar'
    highlighted: 'Highlighted'
    help: 'Help'
    content: 'Content'
    sidebar_first: 'Primary'
    sidebar_second: 'Secondary'
    footer: 'Footer'
    page_top: 'Page top'
    page_bottom: 'Page bottom'

    libraries:
    - 'mytheme/global-styling'
    - 'mytheme/bootstrap-scripts'
Install the Theme
Now, simply go to your website’s Admin Panel, install and activate the theme.
Note: If you encounter any errors when activating the theme, remember to flush the cache.
Conclusion
That’s it! You’ve successfully created your own Drupal theme using the Bootstrap framework. Hope you have found this short tutorial useful. If you’ve got any questions, whether about theme creation or Drupal hosting, leave a comment below and I’ll be happy to help out
If you are a fan of Drupal Bootstrap themes, do see our list of top 10 Drupal Bootstrap themes.
Shahzeb Ahmed
Shahzeb is a Digital Marketer with a Software Engineering background, works as a Community Manager — PHP Community at Cloudways. He is growth ambitious and aims to learn & share information about PHP & Laravel Development through practice and experimentation. He loves to travel and explore new ideas whenever he finds time. Get in touch with him at [email protected]