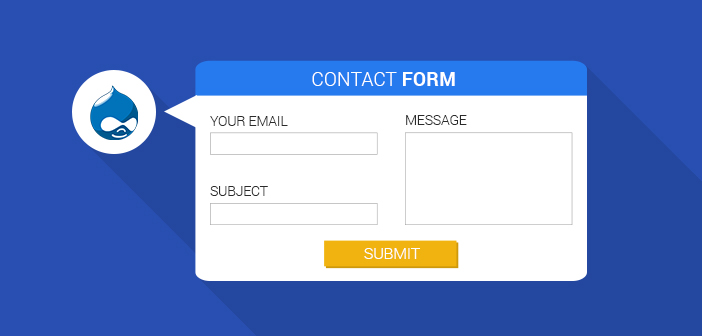
It doesn’t matter what type of a website you run; there’s always the need for customers to resolve an issue or clarify on a query. It is important that customers should have a means to contact the store management. Drupal realizes this and offers you an easy way to create a contact form.
In this tutorial, I’m going to take you through the steps needed to create a contact form on your Drupal 7 site. Here are the five steps, involved in the process:
- Enable ‘contact’ module
- Add Category
- Edit contact form settings
- Add link to contact form
- Edit permissions (Optional)
Enable ‘Contact’ Module
The module required for creating a contact form ships with Drupal 7 core by default. All you need to do is enable it. Go to admin > modules and click the check box beside the contact module.

Add Category
The next step is to add your contact form. This can be done by adding categories for the forms. Navigate to admin > structure > contact forms. From here, click the ‘add category’ link. This will open a contact form overlay:
Nothing as Easy as Deploying Drupal Apps on Cloud
With Cloudways, you can have your PHP apps up and running on managed cloud servers in just a few minutes.
Edit Contact Form Settings
Here, add the category name for your form and the email addresses of the recipients, i.e. the people who will receive the details of the form. This is useful as it allows you to set up specific recipients according to the domain of the form. Apart from this, you can also set auto-replies and make this form the default one.
That’s it; you’ve successfully added your contact form. It can be viewed by typing the following URL into your browser’s address bar: www.yoursitename.com/?q=contact
Add Link to Contact Form
Asking your visitors to type in the aforementioned URL whenever they want to visit the contact form isn’t feasible. You need to provide an easier way for you site visitors. This can be done by providing a link to it. To do this, go to admin > structure > menus. Click ‘list links’ besides ‘main menu’.
![]()
Click ‘add link’ from the screen that comes up. This will open the overlay for adding your link.
Enter a name for the form link in the ‘Menu link title’ text box. In the ‘Path’ text box, enter ‘contact’. Go through the rest of the settings and set them according to your requirements. Once you are done, click ‘Save’.
Edit Permissions (Optional)
You can also make your contact form available to both registered and unregistered users. To do this, go to the people tab on your dashboard and click ‘permissions’. Find the contact module and under the anonymous user column, select ‘Use the site-wide contact form’. Click save once you are done.
Conclusion
The contact form is an important part of customer service and helps in keeping customers connected with the store. With the guidelines in this post, you should be able to create a contact form on your Drupal 7 website successfully. Have any questions? Please leave a comment below.
If you are looking to speed up your Drupal 7 website, see our blog post: Turbocharge Your Drupal 7 Website With Redis.
Hamza Zia
Hamza is a Drupal Community Manager at Cloudways - A Managed Drupal Hosting Platform. He loves to write about Drupal and related topics. During his free time, he can be seen obsessing over Football, Cars, Android and Gaming.