One of the best things about being a Magento developer is looking forward to updated Magento 2 features. This is especially true considering the need for custom options along with the Magento platform. For instance, while creating a Magento 2 module, I had to add a custom Magento 2 admin menu in the admin panel.
In this blog post, I’ll create a custom module to show you how I was able to do this in Magento 2. It’s a dummy Magento 2 admin menu, so nothing’s going to happen when you click on it. The basic reason to create admin menu in Magento 2 is that developers can easily route or navigate to a specific module to utilize the functionalities to the store.
Let’s start with creating a Magento 2 module. I will be using Cloudways for the Module’s Namespace and Magento admin menu as the Module’s Name.
Create a New Registration.php
To create a registration.php you need to navigate to the file in Magento2Root/app/code/Cloudways/Adminmenu/ and add the code below to it:
<?php

\Magento\Framework\Component\ComponentRegistrar::register(

   \Magento\Framework\Component\ComponentRegistrar::MODULE,

   'Cloudways_Adminmenu',

   __DIR__

);
Smooth Magento Performance on a Managed Platform
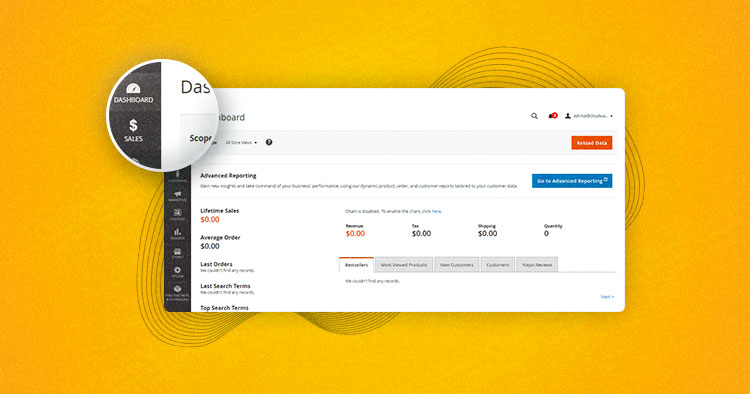
Create a custom admin menu in Magento 2 and add more customization options, backed by a performance-focused hosting provider.
Create a Module.xml
Create a module.xml file in Cloudways/Adminmenu/etc/ with the following code:
<?xml version="1.0"?>
<config xmlns:xsi="http://www.w3.org/2001/XMLSchema-instance" xsi:noNamespaceSchemaLocation="urn:magento:framework:Module/etc/module.xsd"> <module name="Cloudways_Adminmenu" setup_version="1.0.0"></module>
</config>
After creating the module.xml the step:1 to add the custom Magento 2 admin menu has completed.
Declare Route
The route defines the name for a module. This allows the URL to be found and the controller action to be executed. For that, you need to create the new file named routes.xml in the path app\code\Cloudways\Adminmenu\etc\routes.xml
I added the routes.xml file in the folder named adminhtml, because I want these codes only to apply to the admin.
?xml version="1.0"?>
<config xmlns:xsi="http://www.w3.org/2001/XMLSchema-instance" xsi:noNamespaceSchemaLocation="urn:magento:module:Magento_Backend:app/etc/routes.xsd">
  <route id="admin">
  <route id="admin" frontName=”mainmenu”>
  <module name="Cloudways_Adminmenu"/>
</router>
</router>
</config>
Create a New Menu Item
The Magento 2 admin menu is handled by the file menu.xml. This file consists of <config>, <menu> and <add> elements. The <menu> element may consist of multiple <add> elements as well.
Create a new file menu.xml in Cloudways/Adminmenu/etc/adminhtml/ and add the following content to it:
<?xml version="1.0"?>
<config xmlns:xsi="http://www.w3.org/2001/XMLSchema-instance" xsi:noNamespaceSchemaLocation="urn:magento:module:Magento_Backend:etc/menu.xsd>

<menu>

       <add id="Cloudways_Adminmenu::first_level_demo"

            title="Cloudways Admin Menu”
module="Cloudways_Adminmenu"
sortOrder="20"
resource="Magento_Backend::content" />

       <add id="Cloudways_Adminmenu::second_level_demo"

            title="Sub Menu”
module="Cloudways_Adminmenu"
sortOrder="1"
action="menuitem/index/index"
parent="Cloudways_Adminmenu::first_level_demo"

            resource="Magento_Backend::content" />
  </menu>
</config>
As you can see in the menu.xml file, we have defined two <add> elements with attributes. The first is used for the first level menu, and the second for the second level menu with additional actions and parent attributes.
Book a Personalized Cloudways Product Demo With One of Our Expert
Experience the Cloudways Magento 2 Demo Store – No tech skills needed!
Experience a fully functional Magento 2 store built on top of renowned Cloudways hosting to deliver the fastest speeds.
Explanation of Attributes
- id – unique identifier
- title – the title of the menu that will be showing up in the admin
- module – indicates the module
- sortOrder – prioritize the place of menu
- resource – the rule to identify which admin user can see and access this menu
- action – link to the specified admin controller
- parent – defines on which first level menu it depends
Clear the Magento Cache!
You’ve now made the necessary preparations to create admin menu in Magento 2 in the Admin Panel. To enable and activate the custom module, run the following Magento CLI commands:
rm -rf var/di/* var/generation/* var/cache/* var/log/* var/page_cache/*

php bin/magento cache:clean

php bin/magento cache:flush

php bin/magento setup:upgrade

php bin/magento setup:di:compile

php bin/magento indexer:reindex
In the end, it will look something like this:

And That’s All!
The custom admin menu in Magento 2 should now be visible once you’ve followed the steps outlined above. I hope now you have a fair idea about the concept of using menu.xml in Magento 2. If you have any questions, please leave a comment below.
Abdur Rahman
Abdur Rahman is the Magento whizz at Cloudways. He is growth ambitious, and aims to learn & share information about Ecommerce & Magento Development through practice and experimentation. He loves to travel and explore new ideas whenever he finds time. Get in touch with him at [email protected]